.avif)

WordPress Store Locator: AI-Powered, SEO-Ready, Zero Code
Everything you need from a WordPress store locator
AI Content Assistant
Stop writing location descriptions by hand. MapCosmos generates engaging, SEO-optimized content for every store, including local keywords, opening hours context, and product highlights, in seconds.
One-snippet embed
Add MapCosmos to any WordPress page, block, or template with a single HTML snippet. No modules to install, no database migrations, no developer overhead.
150+ no-code customization options
Control layout, colors, map styles, filters, fonts, languages, and currencies. Every detail of your store locator can be tailored to match your brand, with no design experience or coding required.
Dedicated SEO pages for every location
Each store gets its own indexed page with AI-generated metadata, schema markup, and local keywords. Your locations start appearing in local search results, driving organic traffic without additional ad spend.
Rich location content and media
Showcase products, services, live reviews, photo galleries, team bios, downloadable menus or flyers, and custom map markers. Turn every location page into a conversion tool, not just a map pin.
Real-time analytics and live data sync
See exactly what customers search for, which locations get the most views, and where drop-off happens. Connect your CRM or inventory system to keep all location data accurate and up to date automatically.
Launch your WordPress store locator today
Whether you run a small WordPress site or a large multi-site network, MapCosmos scales with you. Start your free trial and launch your store locator today.
How to Add a Store Finder Plugin to WordPress (No Coding Needed)
Adding a store locator to your WordPress site doesn’t have to be complicated. In this quick guide, you’ll learn how to install and set up the WordPress store finder plugin - no coding required. Adding a store locator to your WordPress site doesn't have to be complicated. In this quick guide, you'll learn how to install and set up the WordPress store finder plugin - no coding required, just a few simple steps to get your map live and working smoothly. Not sure why it's worth it? Read how a WordPress store locator can boost your local sales first.
Option 1: The Best & Fastest Way - wp store locator plugin
If you want the quickest and easiest setup, the best option is to install the store locator for WordPress by downloading the MapCosmos plugin from our website.
This method is fast, simple, and doesn’t require any embed codes — your map will be ready to go in just a few minutes.
Here’s how:
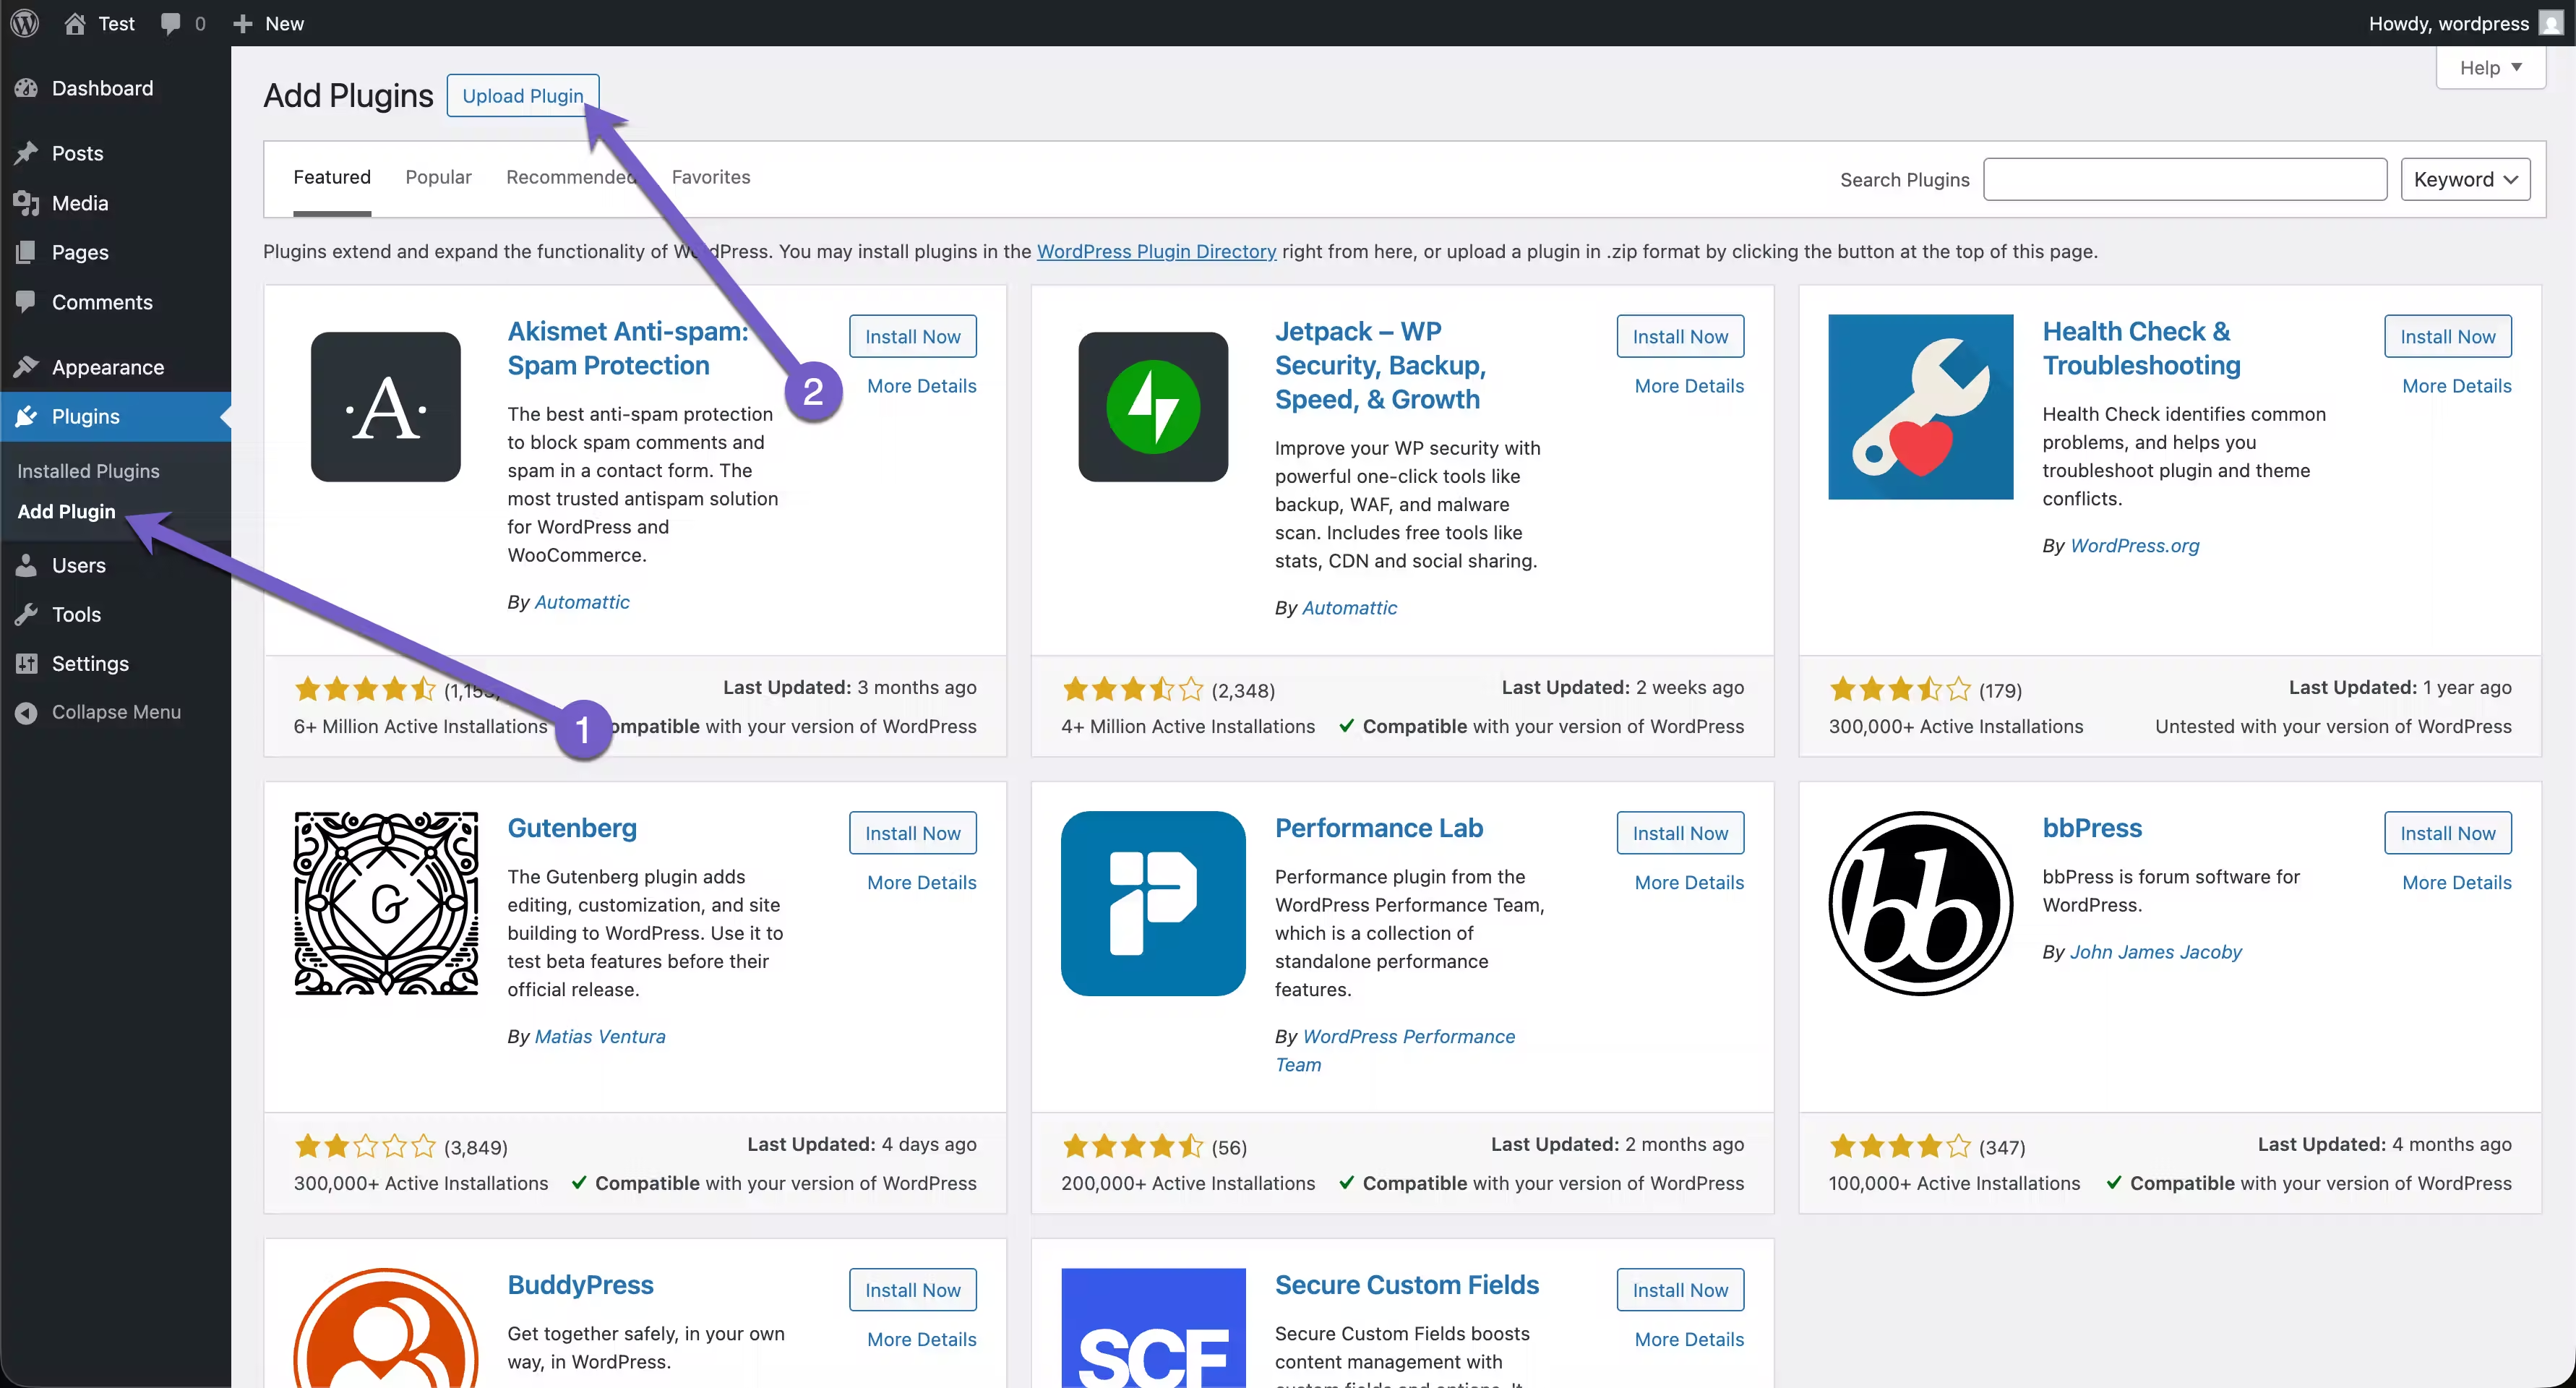
- In your WordPress dashboard, just head to the left menu, click on ‘Add plugin,’ and then hit ‘Upload plugin’.
- Upload the ZIP file of the WordPress store finder plugin to install it.
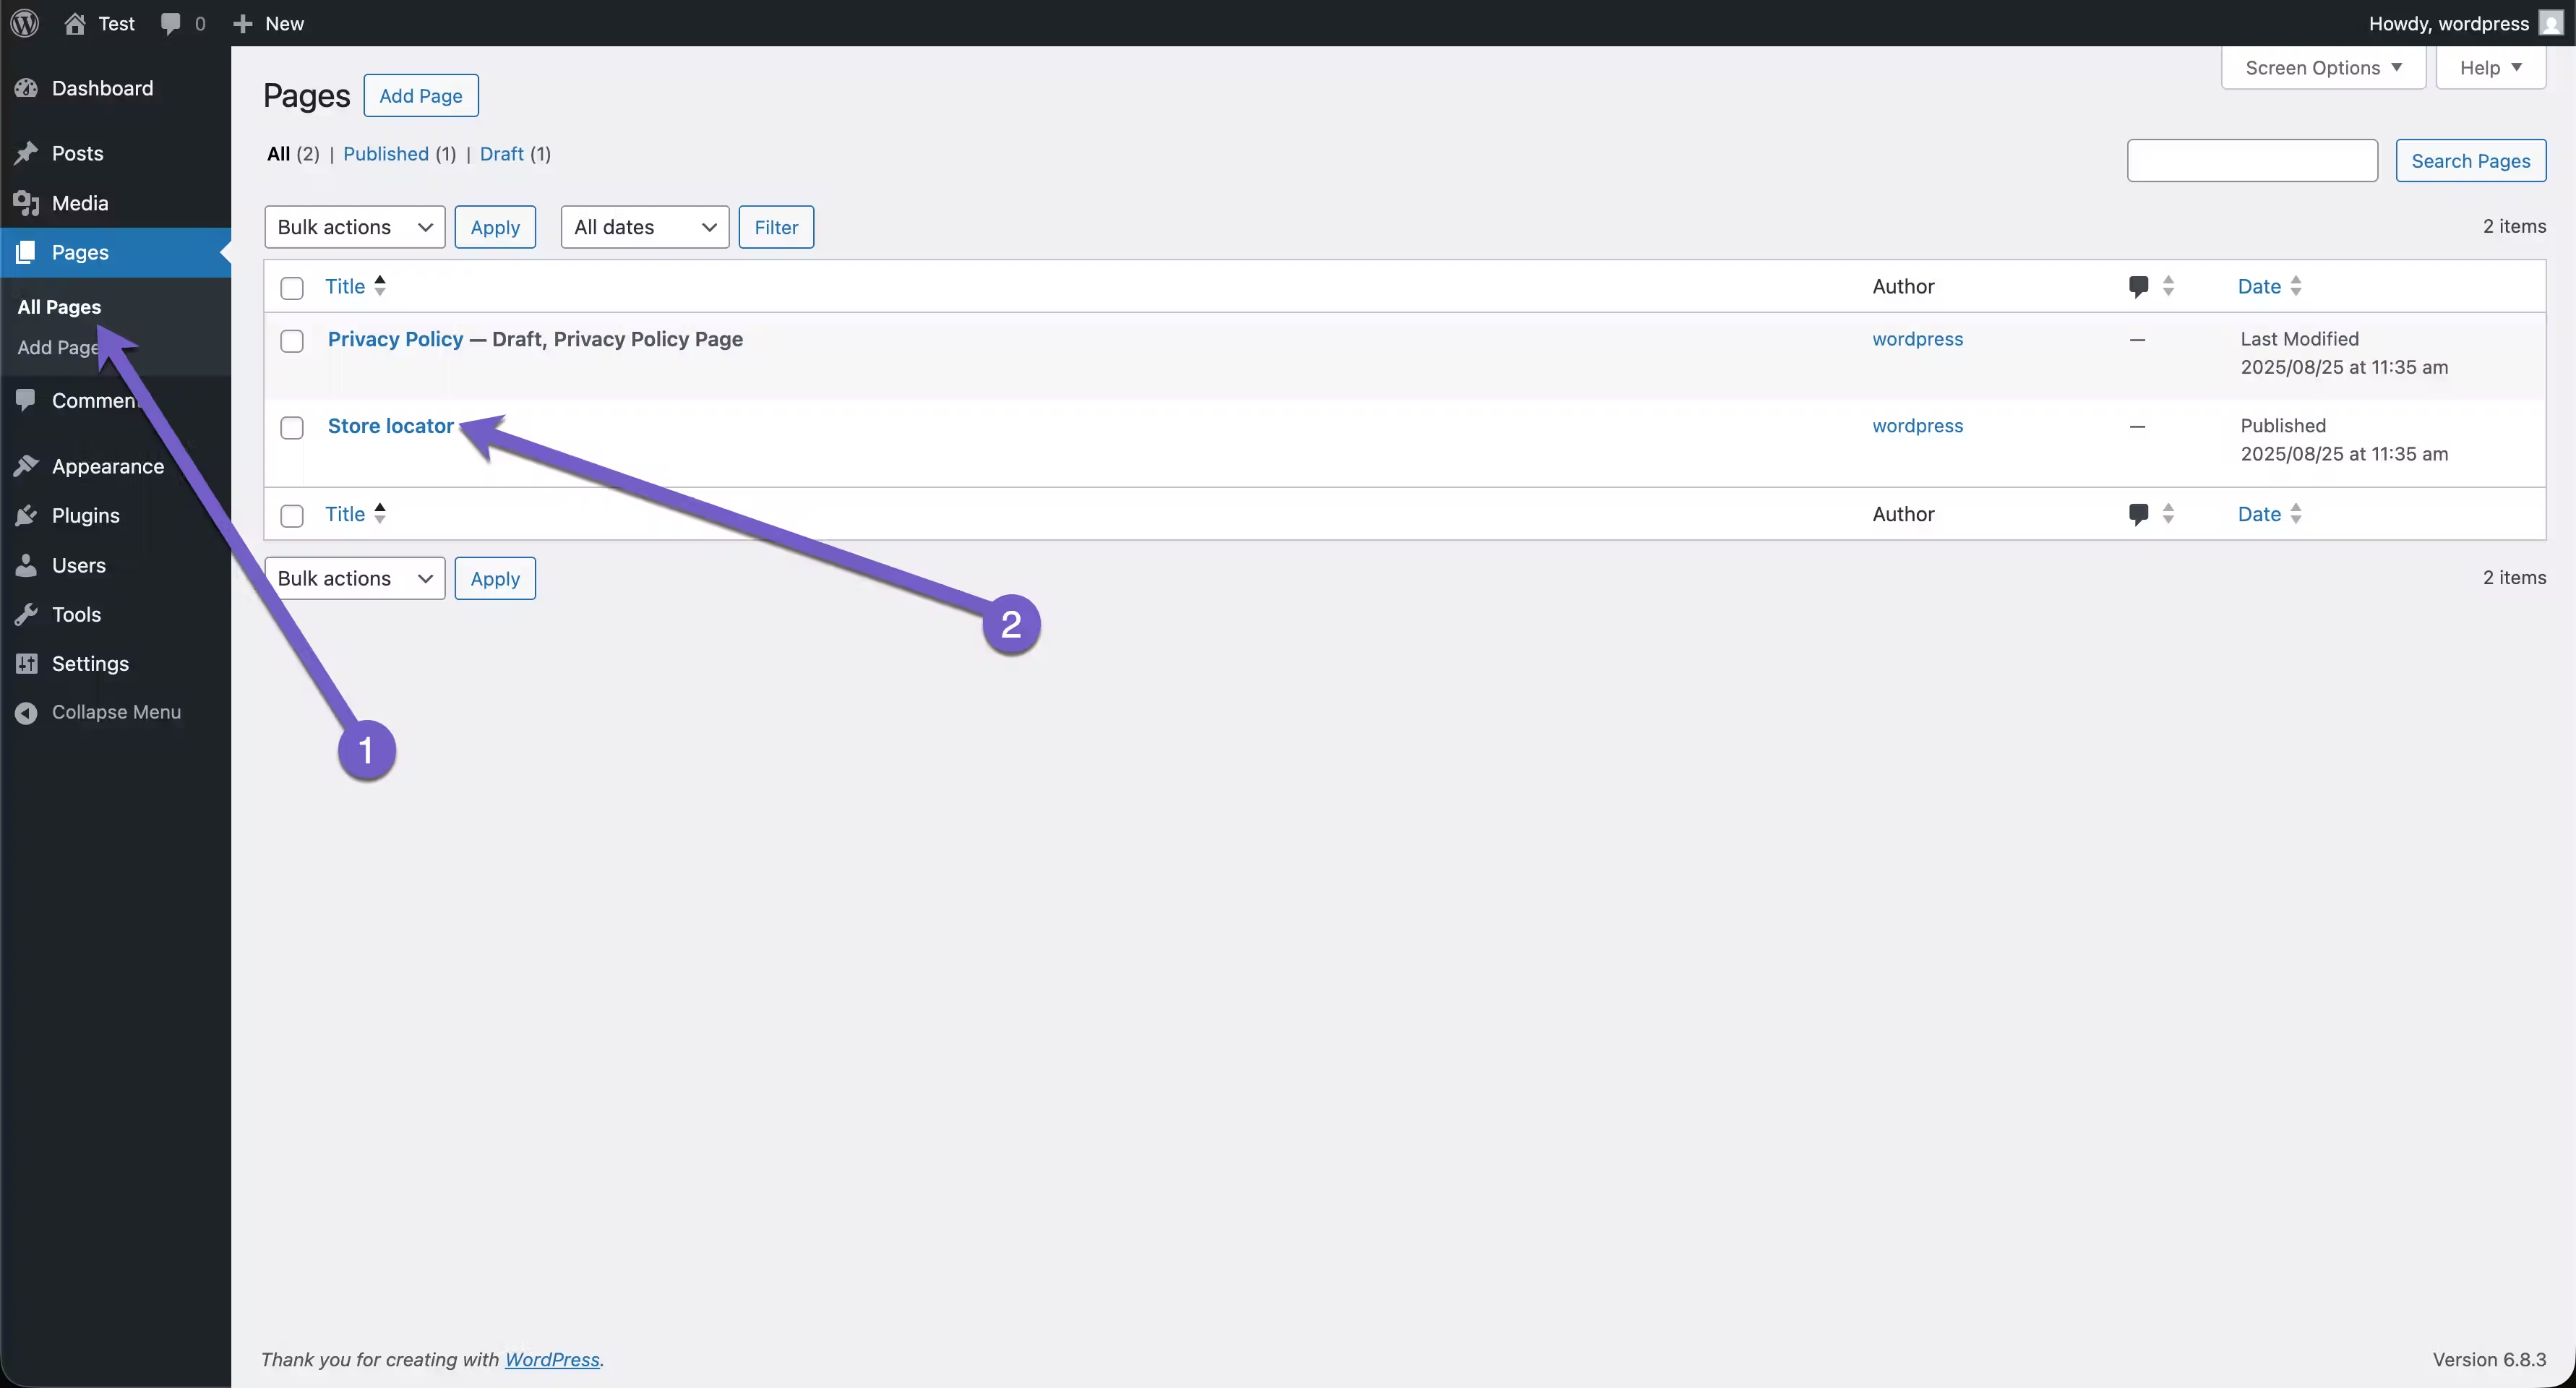
- After activating the plugin, go to the page where you want to display your store locator wp.
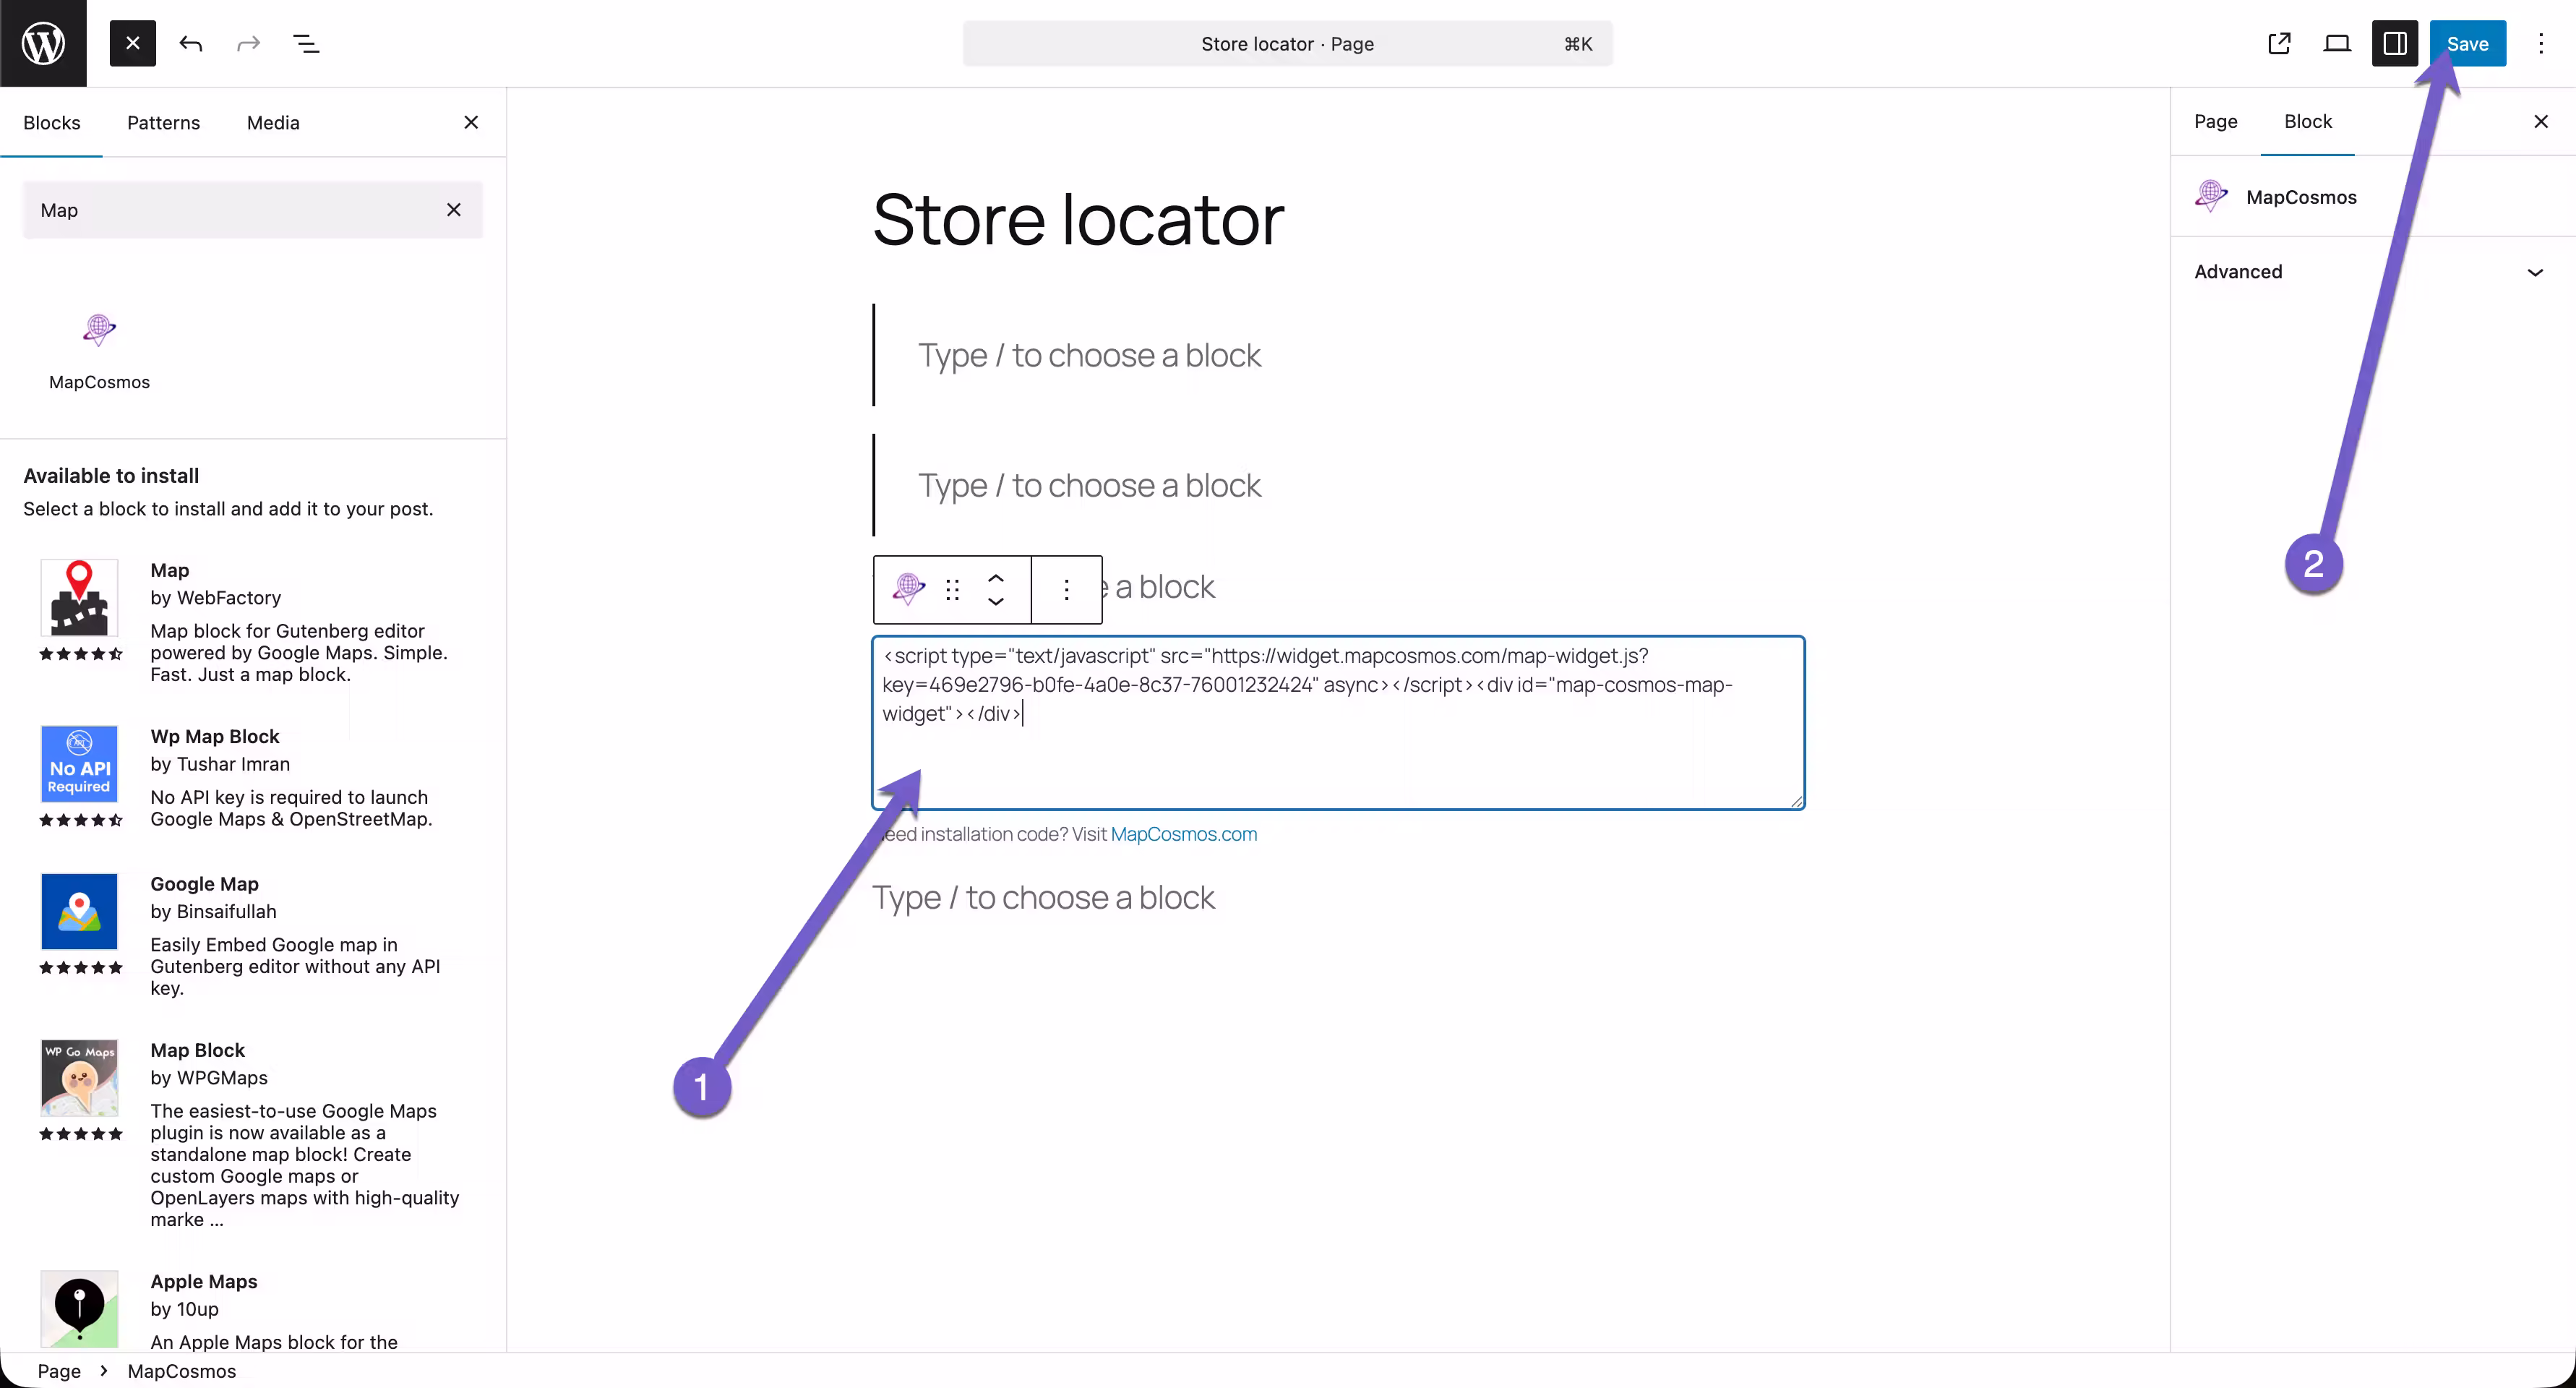
- In the page builder, select the Store Locator element and drag it to the right place on your page.
- Finally, paste the installation code and save your changes.
Learn more about our store locator for WordPress.


👉 download the MapCosmos plugin from our website.
Option 2: Get Your Store Locator Installation Code
Before you can add the map to your WordPress site, you must first configure your locator and generate a unique installation code from your MapCosmos account. This involves setting up your locations, customizing the map's appearance to match your brand, and adding any custom details you need.
👉 We’ve prepared a detailed guide on how to set up your widget and generate your installation code - making it easy to launch your WordPress store finder plugin in minutes.
Add the widget to a WordPress Page
You can display your store locator for WordPress on any page by embedding the installation code using a Custom HTML block.
- In your WordPress dashboard, go to Pages → Add New (or choose an existing page).
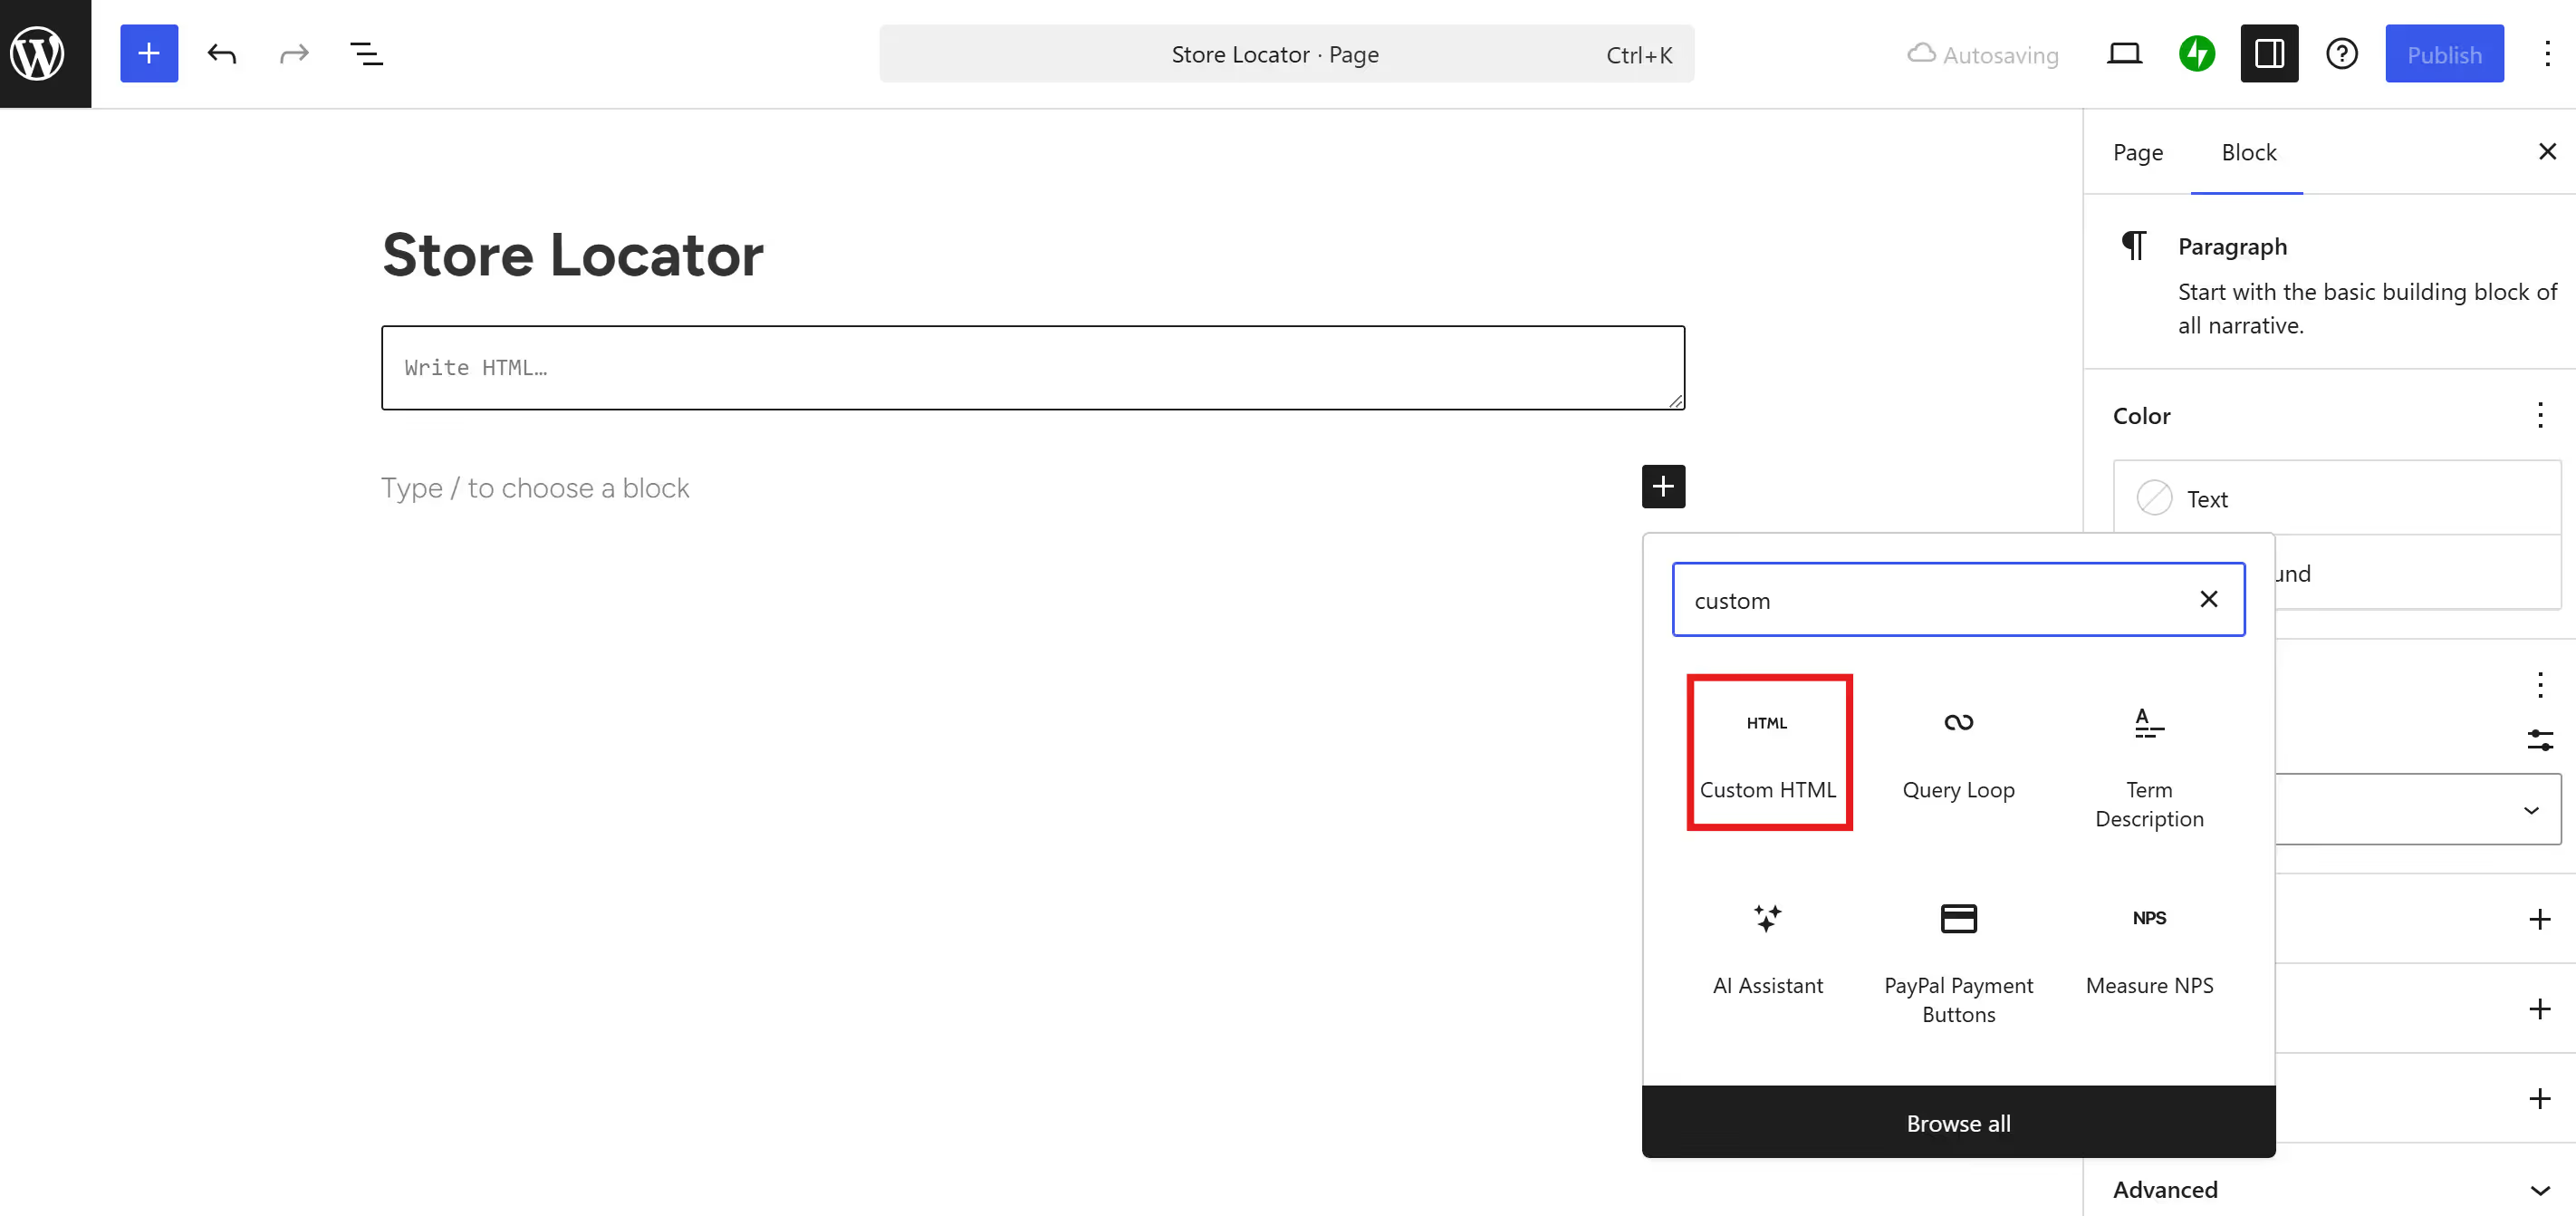
- In the WordPress editor, click the “+” (Add block) icon to open the block library.
- Search for Custom HTML and add it to your page.
- Paste the embed code you copied from your MapCosmos account directly into the Custom HTML block.
- Click Publish to make your store locator wp live on your website.
That’s it!
Have questions about connecting to our powerful API or optimizing your setup? Contact our team at contact@mapcosmos.com - we’re happy to help you get the most out of your WordPress Store Finder plugin, and don’t forget to visit our overview page to get started quickly with WordPress Store Locator.
Common Errors When Installing a wordpress store finder plugin
Even with a simple setup, users sometimes encounter issues when adding their store locator for WordPress. Below are the most common errors - and how to fix them quickly
Running a WooCommerce store? See our dedicated guide for WooCommerce store locator setup.
💡 Tip: Using MapCosmos eliminates most of these issues automatically — it’s designed to work seamlessly with all modern WordPress themes and page builders.
👉 Need more help? Read our full guide on Troubleshooting WordPress Store Locator Issues for advanced fixes and diagnostics.