
Below, you’ll find easy steps for integrating the MapCosmos store locator into your GoDaddy page.
Your first step is to build the map experience you want your customers to have. This process is handled entirely within the MapCosmos platform.
After logging in to your account, add your business locations. You have the flexibility to either input stores manually or use a bulk import tool by uploading a CSV or Excel file. From there, you can customize the widget to match your brand’s style, adjusting everything from colors and fonts to the map provider you prefer.
Once your map is configured, navigate to the widget settings and copy the provided installation code.
For a complete walkthrough of this setup, please refer to our detailed guide on generating the installation code.
GoDaddy's Website Builder makes it simple to integrate tools like the MapCosmos locator using its HTML feature.
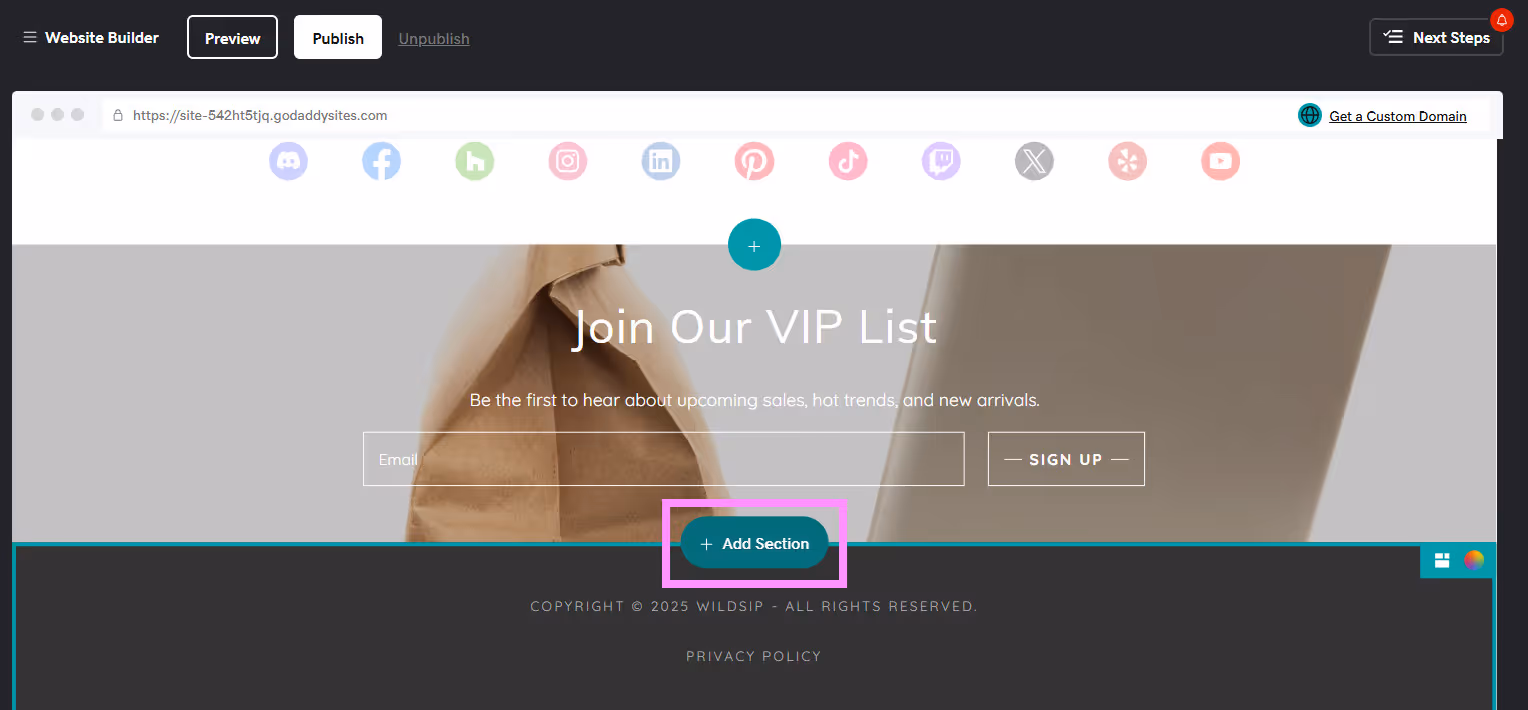
3. Find and add the HTML section. This will create a dedicated block on your page for embedding custom code.
4. In the newly added HTML section, paste the installation code you copied from MapCosmos.
5. Publish your site to make the changes live.
👉If you’re using the latest GoDaddy Website Builder, set a height for your MapCosmos store locator. We recommend 1000 pixels, but you can adjust it to fit your page. Your store locator will render immediately in the live preview. Click Preview to see your interactive map in action.
With the store locator now active on your GoDaddy site, you have created a direct bridge between your online presence and your physical locations. If you have any questions about the process, feel free to contact us at contact@mapcosmos.com or schedule a 30-minute demo to see what MapCosmos can do for you!